Coloring Tips for Kids and All Ages
You don’t need expensive art supplies or special skills to get better results.
Small changes, like using lighter and darker colors, adding simple shading, or giving the background a little attention, can make a coloring page look very different.

1. Choosing the Right Coloring Supplies

You don’t need a big box full of art supplies to get started. A few basic supplies are all you need.

There’s no single “best” choice. Try different supplies and see what your child enjoys using.
2. Use Light and Dark Colors

Here’s a really easy trick that can make a big difference.

That means one crayon can give you several different shades.
You can use the lighter shade for most of an area, then add a darker shade near one edge. It’s a simple way to make objects look less flat.
Don’t worry about getting it perfect. Even a little bit of light and dark can change the way a picture looks.
3. Try Simple Shading

Shading sounds like something for serious artists, but kids can learn a very simple version of it.
For a ball, the edge might be darker. For a pumpkin, the sides can be darker than the middle. For a cloud, you could add a little gray underneath.
That’s it.
If you want to create a sense of volume, you can add a small highlight to the lighter side of the object.
You don’t need complicated techniques. Just think about where you want the darker and lighter areas to go, then build them up slowly.
A good way to practice is to color the whole object lightly first. Then go back and add a second layer where you want more depth.
4. Layer Your Colors

One color doesn’t always have to stay one color.
For example, add a light yellow layer and then a little orange on top. Or use light blue and add a touch of purple.
Layering works especially well with colored pencils and crayons.
Start lightly. You can always add more. It’s much harder to take color away once you’ve pressed really hard.
5. Give the Background Some Attention

The main character or object usually gets all the attention, but the background can completely change the final picture.
A dinosaur can stand in grass. A fire truck can sit on a street. A mermaid can swim through blue water. A birthday cake can sit on a colorful party table.
And leaving some white space is completely fine too. You don’t have to color every single part of the page.
6. Use Patterns and Small Details

Not every area has to be filled with a solid color.
Try adding simple patterns.
For example, a dress can have stripes, a butterfly’s wings can have dots, or a dinosaur can have little shapes along its back.
Patterns are also useful when kids aren’t sure which color to use. Instead of picking another solid color, they can add a simple design.
7. Coloring Tips by Age
Every child develops differently, so these are general ideas, not strict rules.
FAQs
What type of paper is best for coloring pages?
Regular printer paper works perfectly well for crayons and colored pencils. If you want something a little sturdier, especially for markers, try heavier paper or cardstock.
Heavier paper also feels nicer when kids are pressing firmly with crayons or pencils.
You don’t need expensive art paper for everyday coloring, though. A regular sheet of printer paper is enough for most coloring pages.
How can I stop markers from showing through the paper?
Place another sheet of paper underneath the coloring page before you start. This catches any ink that comes through.
It also helps to avoid going back over the same area again and again.
Some markers are much wetter than others, so a little testing on a spare piece of paper can save you a surprise later.
How do I make crayon coloring look smoother?
Try using light, even strokes instead of pressing down as hard as possible right away.
Fill the area with one light layer first, then add another layer to build up the color. Moving the crayon in small circles can also help cover the white spots that sometimes appear between strokes.
And don’t rush. Very hard pressure can make the paper look shiny and can even damage the surface.
What should I do if I color outside the lines?
Nothing. Seriously.
A few little marks outside the lines are completely normal, especially for younger children. The picture doesn’t need to look perfect.
If you want to tidy up a small mistake, you can sometimes cover it by extending the background or adding another detail nearby.
Can I use more than one coloring tool on the same page?
Absolutely. Mixing materials can give you some really nice results.
You could use crayons for large areas, colored pencils for small details, and markers for a few bright accents. You can also combine pencils and crayons to create different textures.
Just be careful with wet markers. Once ink has soaked into the paper, adding another material on top may not work the way you expect.
Why do my colored pencils look too light?
Try building up the color in several layers instead of pressing harder immediately.
Start with a light layer, then add another one over it. You can gradually make the color darker while keeping more control.
A sharp pencil also helps when you’re working on small areas. A dull pencil covers more space, but it can be harder to get into tiny corners.
Should I outline a coloring page before coloring it?
You can, but you don’t have to.
Some people like to trace the outlines with a darker colored pencil because it makes the finished picture look more defined. Others prefer to leave the original black outlines as they are.
Try both and see which one looks better to you. There isn’t one correct way to do it.
What can I do when the color looks patchy?
Add another light layer rather than pressing much harder.
With crayons and colored pencils, coloring can sometimes look uneven when some areas have more color than others. Going back over the area with gentle, overlapping strokes can help even things out.
For very large areas, start on one side and work your way across. That makes it easier to see which spots still need attention.
Ready to Color?
Now that you’ve got a few ideas to try, pick a coloring page and give them a go.
Try our free printable coloring pages and see where the colors take you.
Popular Coloring Pages to Try
Pick a favorite and start coloring.
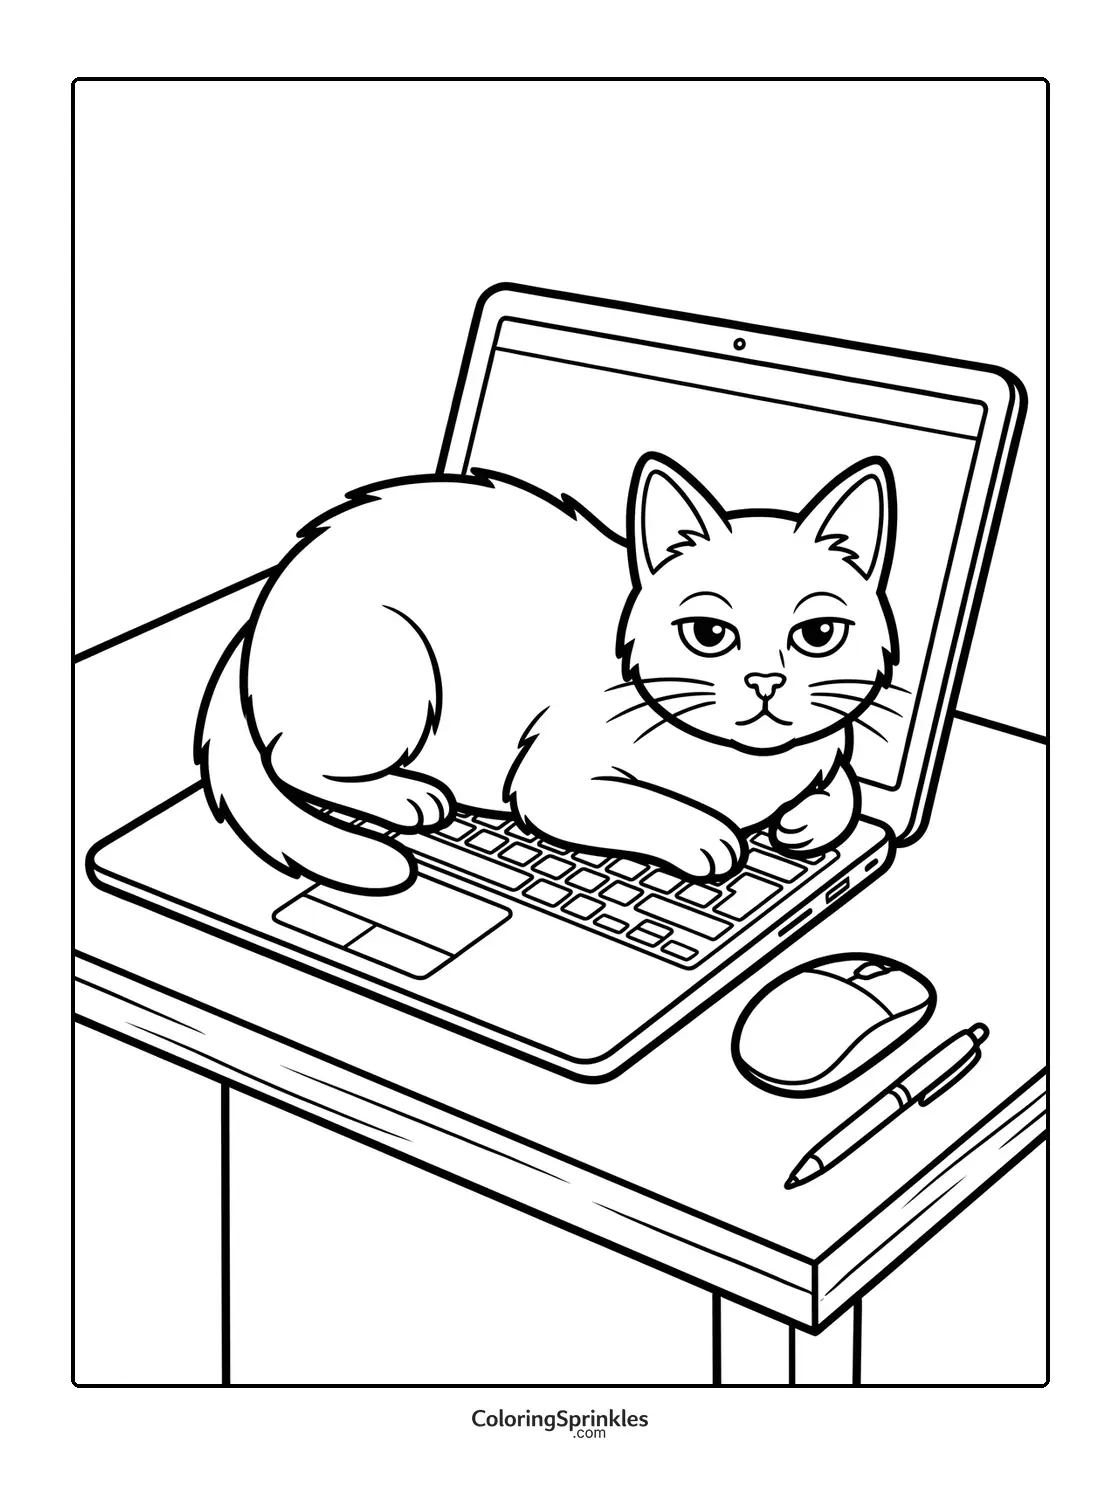
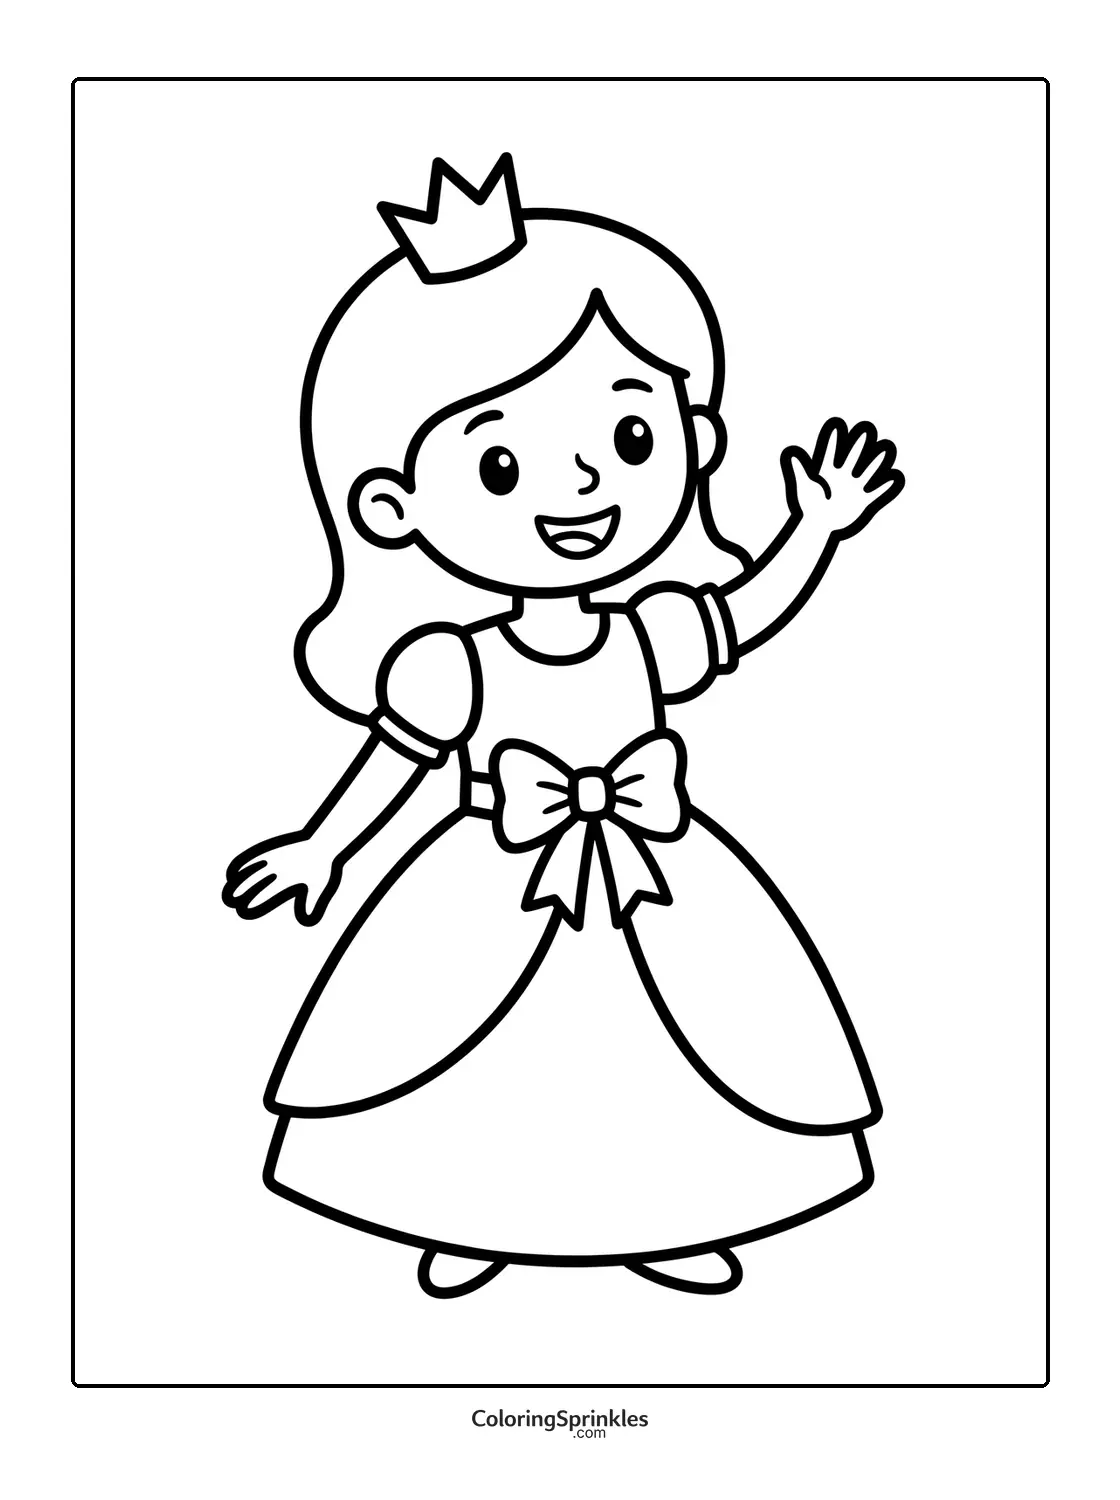

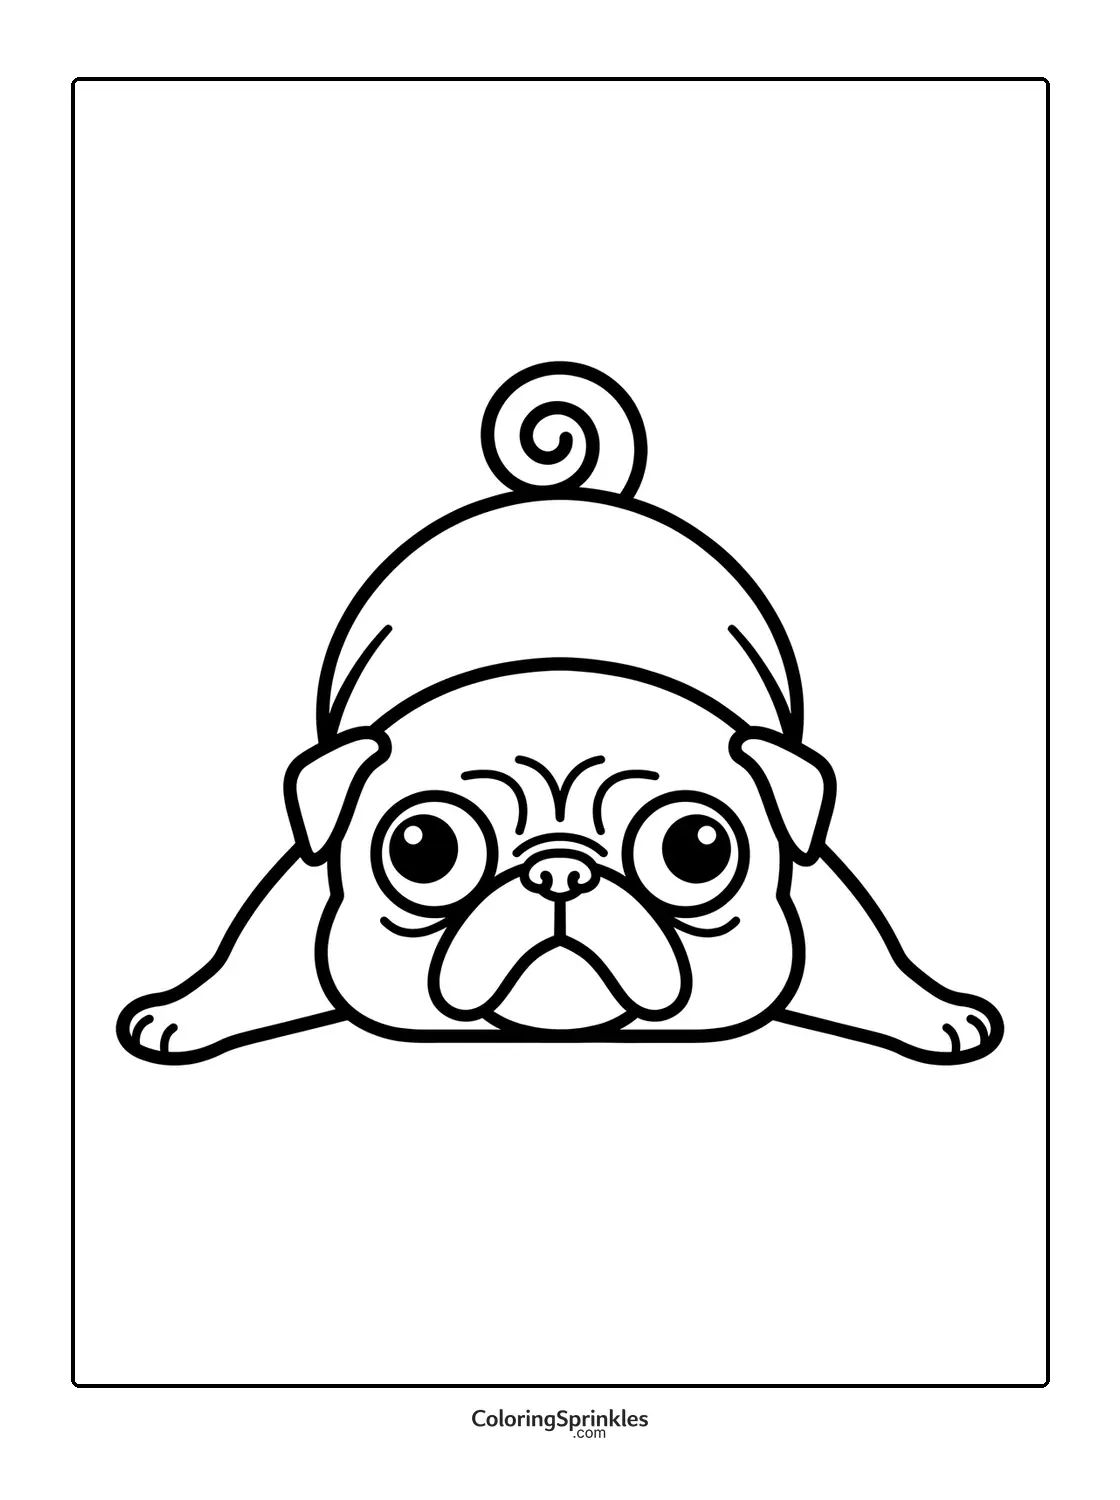

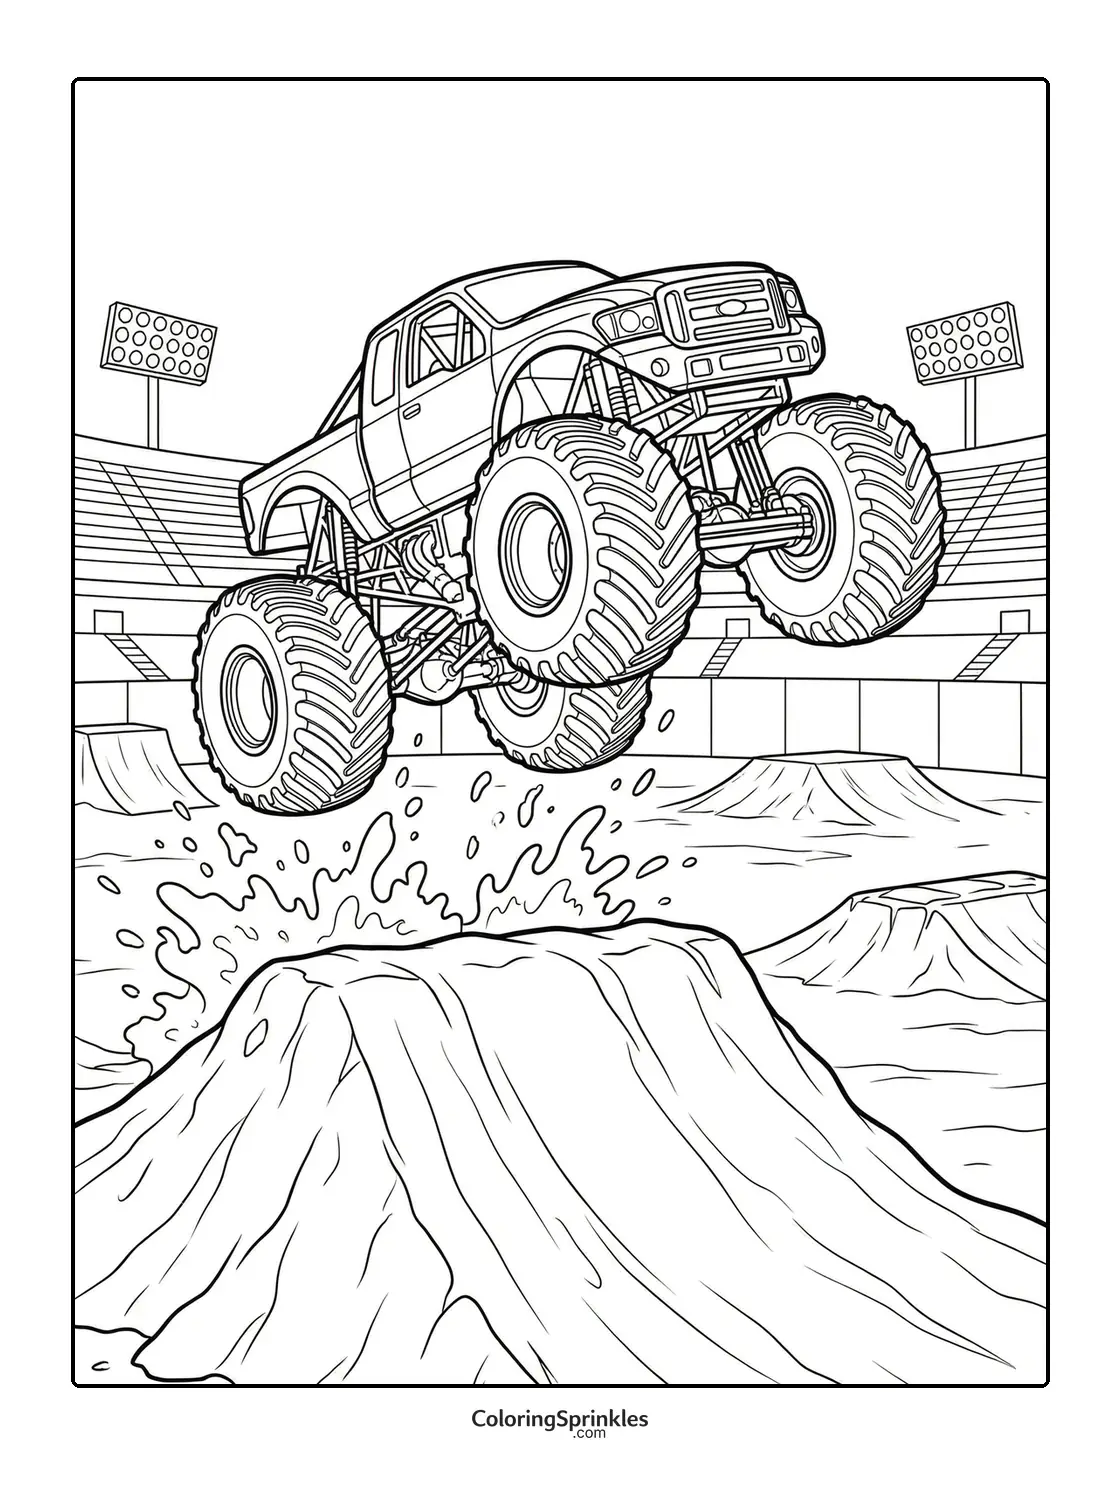
One last thing: there’s no wrong way to color.
Use the colors you like. Change your mind halfway through. Start again. Leave parts white. Add a ridiculous background.
It’s your picture.